
Everything you need to know about sprouts
Mung sprouts: what they are, why they’re good for you and how to sprout with the least effort and time. After eating all the lockdown banana bread, sweet thai sticky rice and mango I could handle I decided I should perhaps re-emerge from the coronavirus a bit healthier rather than a bit rounder.
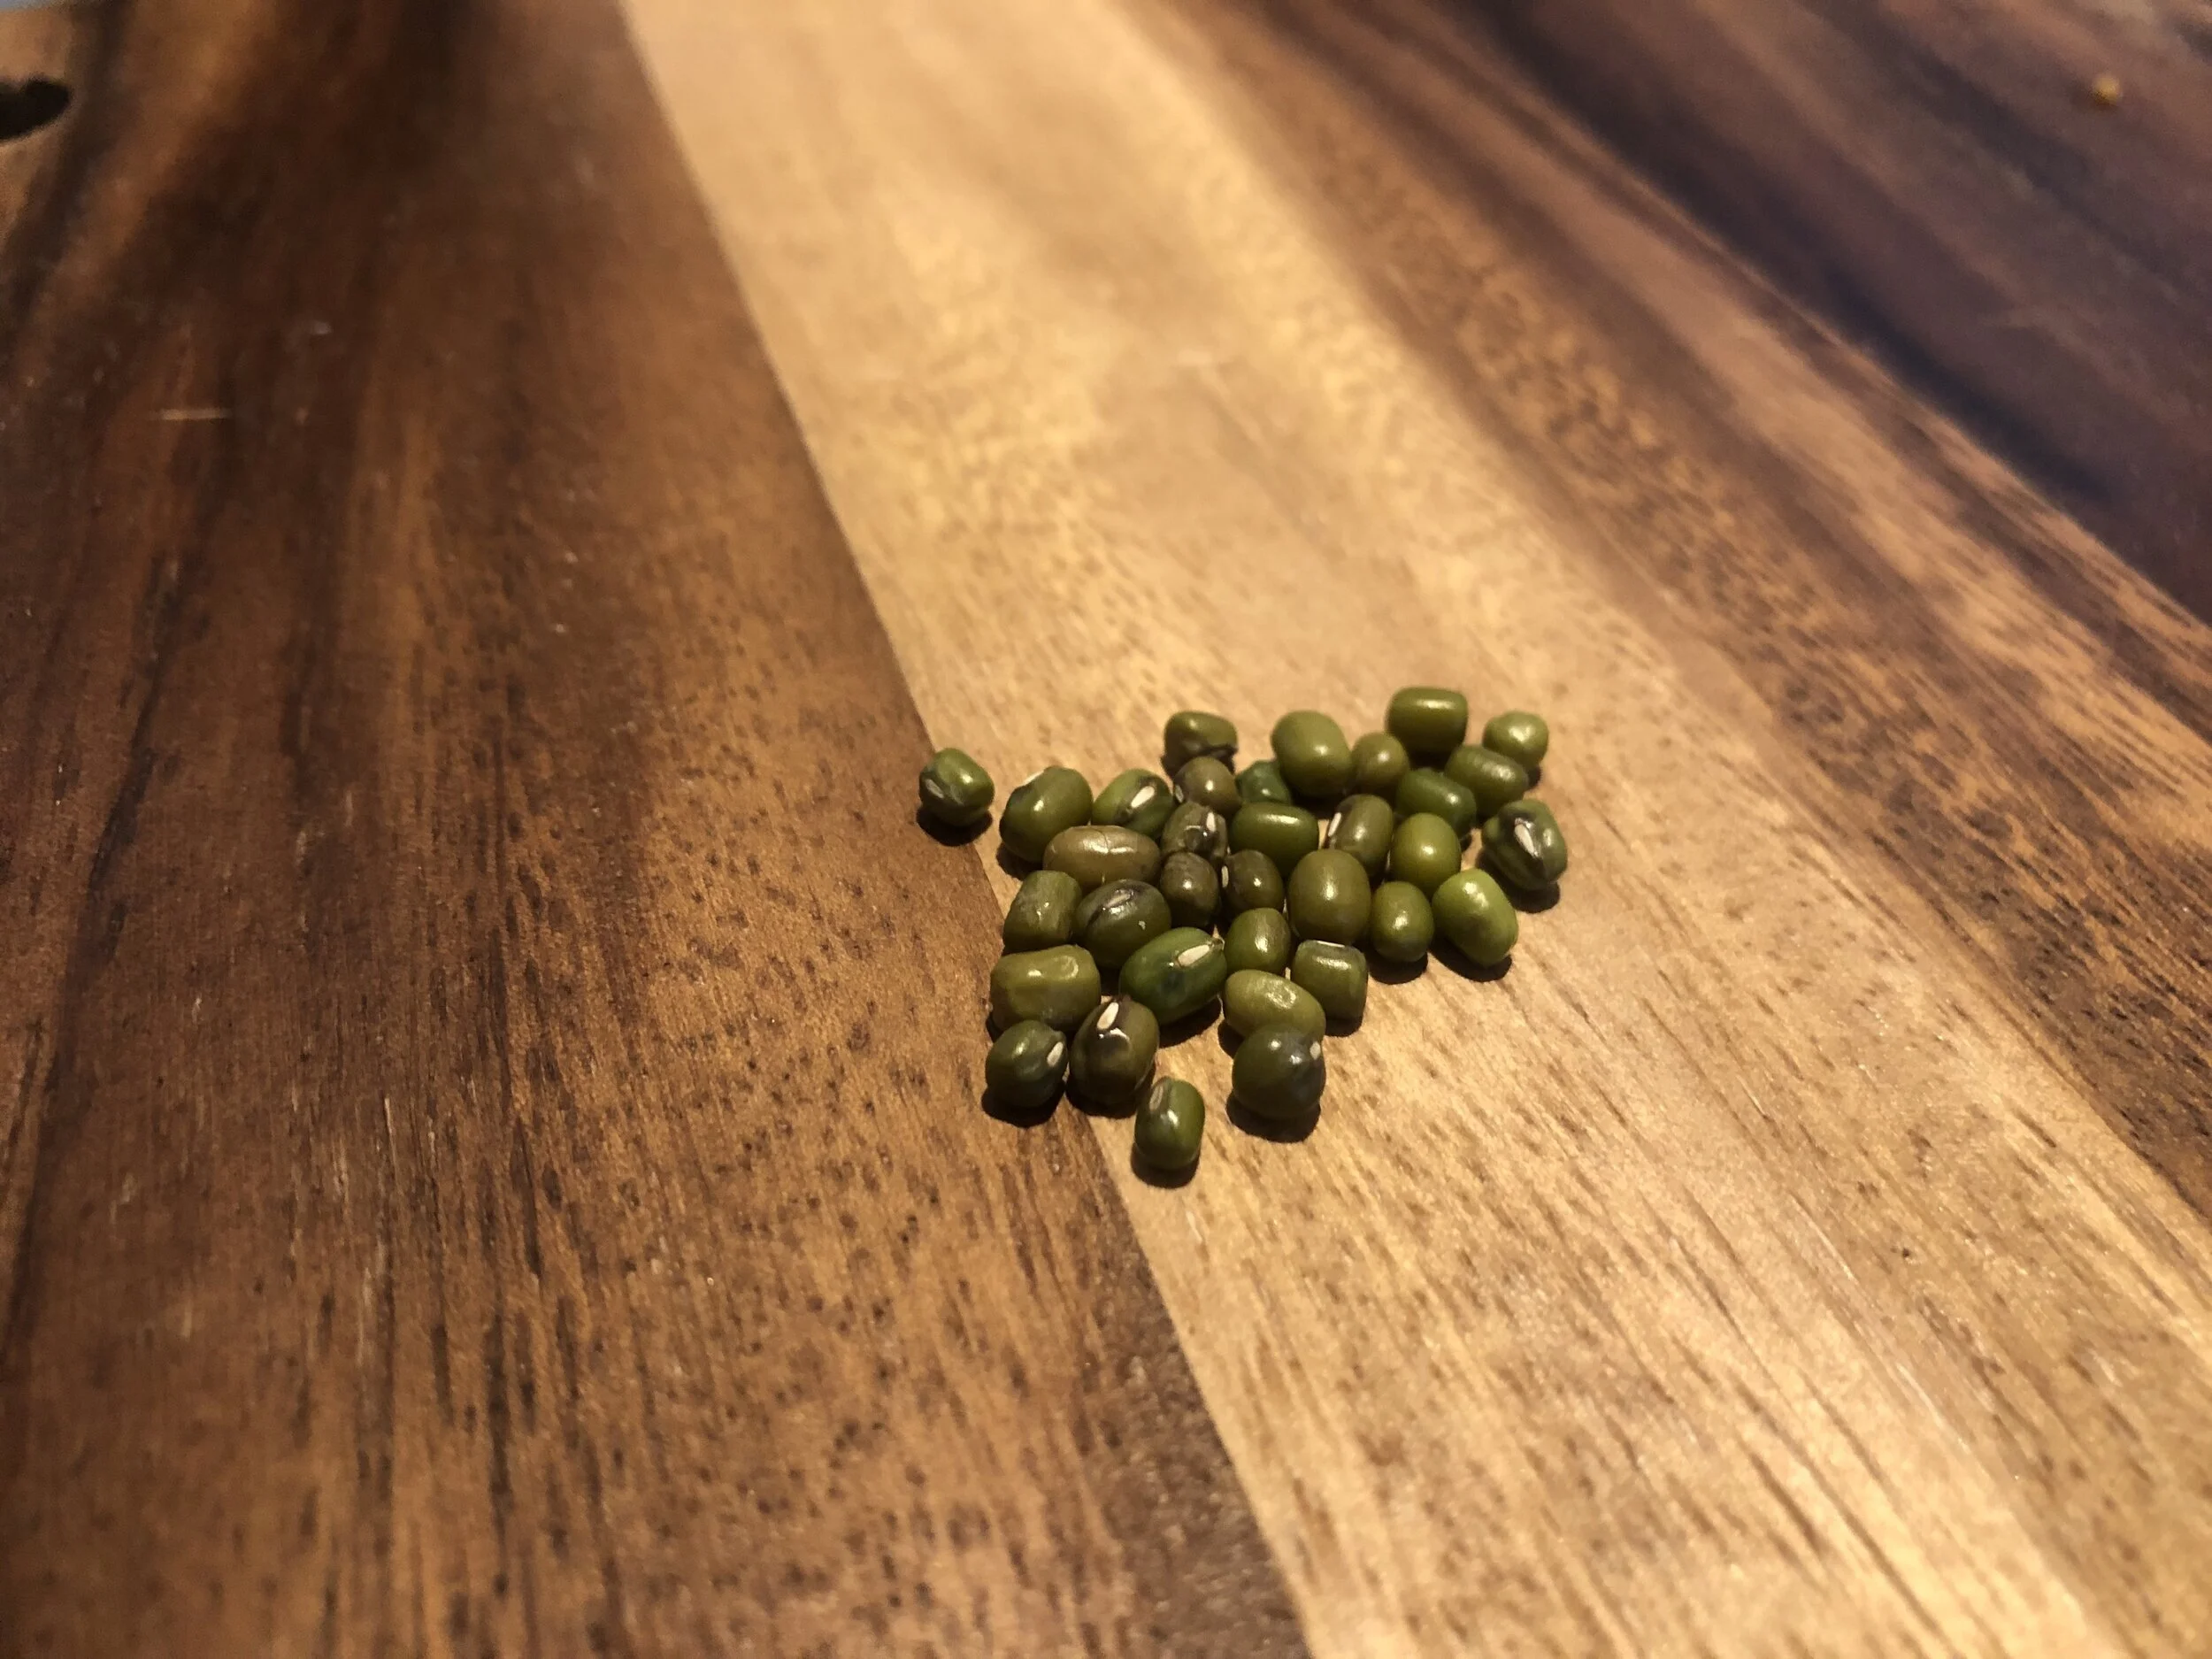
Mung beans
Mung bean sprouts are an ancient ayurvedic superfood grown from mung beans which can be found in the world foods and lentils section of a supermarket or your local store. These shiny, tiny olive green beans are an incredible nutritional source packed full of protein, enzymes and vitamins.
Beans, nuts and grains are good for you, we know that. However, consuming them sprouted is how their superpowers are unleashed. Sprouted mung beans are said to increase the healthy enzymes in our body by up to 100 times more than other raw fruit and veg. Enzymes help to catalyse our body functions and extract more vitamins, amino acids and essential fatty acids. The sprouting process also improves the quality of the protein in the beans and the amount of vitmains.
Sprouted mung beans are a fab source of vitamin A, B 1 and 2, C and E. Sprouts also include folacin, phosphorus, magnesium and iron. If you’re vain like us you will already know that vitamin A is retinol, the fabulous anti-wrinkle ingredient that can be applied topically - now you can ingest it too!
In ayurveda it is said that mung sprouts are an astringent and essential for strengthening and healing the gut. Regular consumption of mung sprouts helps to cleanse and regulate bowel movements and also to alleviate lethargy.
How to sprout mung beans
First of all, sprouts take time. The only way to have instant sprouts is to buy them from shops. Supermarkets like Waitrose sell sprouts in packets around the fresh salad section but they are easy and low cost to make at home. The added benefits of making sprouts yourself include the knowledge you didn’t use chemicals or pesticides and you can reduce a little plastic packaging from your life.
Step 1: Take 2/3 (two thirds) cup of sprouts and rinse them in a bowl a few times to clean them. They look nice and clean in the packet but if you do this step you will soon notice that yes, indeed, they did need a further cleanse.
Step 2: Leave them to soak in a bowl large enough and with enough water to allow the beans to double in size for 12 hours. If you live in London I would advise using filtered tap water as the water here is hard as hell! How does the 12 hours work for you? Sometimes I leave them to soak overnight or if I get my timing right I can do this during the day too.
Step 3: Rinse the now swollen beans through a sieve a few times until the water runs clean. You might have noticed at this stage that the beans have split slightly.
Step 4: Shake out any excess water in the beans while they are inside the sieve. Prop the sieve over a bowl and cover with a cloth thick enough to keep out the light. Some people say to store the beans in a warm, dry place like a cupboard but I think leaving them on a kitchen top is better as there is a flow of air/oxygen.
Leave the beans covered like this for 1.5-2 days and hey presto….


You can leave the sprouts for more time if you want longer sprouts but they will continue to sprout anyway. You will have made enough sprouts for about 4 days. If you like them and want to continue them in your diet I would start making a fresh batch before your current crop disappears. You don’t need to rinse them before eating as we already did that but I would recommend transferring the sprouts to a container and into the fridge.
How to eat them? I prefer them raw in salads or with yoghurt. You can add olive oil, lemon or lime juice and seasoning.
Let me know how you get on!